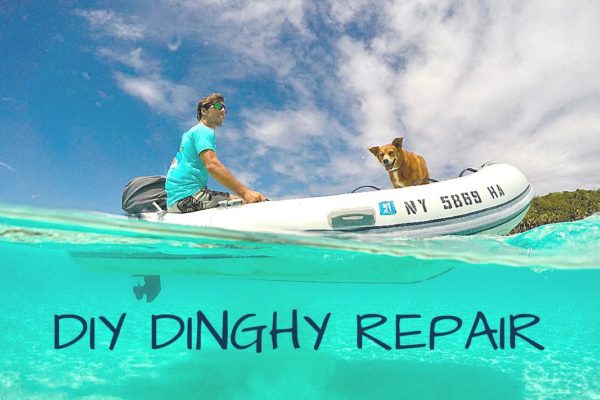
It all starts with a story…While riding on our Highfield Hypalon Inflatable Dinghy, I ran up on some sharp debris close to shore that punctured a few pinholes into our boat. I originally repaired those holes with the 1-Part M.E.K. repair glue that came with the dinghy, but….
I did a few things wrong.
If you plan on repairing your dinghy yourself, here are a few things you should know before repairing a Hypalon Dinghy:
Relieve Some Pressure
1. Be sure to relieve some air pressure from your boat before you begin. This is so your glue properly binds to both your patch and your boat.
Go Big or Go Home!
2. When creating your patch, go big! Make sure you have at least an extra inch of space patched around the hole.
3. Make sure you sand both your patch and your boat. If you don’t, your patch may eventually peel off your boat.
Less is More
4. When applying your glue, do not apply too much. All you need is a thin coat! Make sure you cut down the bristles on your brush in order to apply a smooth coat.
Better in Pairs
5. Secondly, apply two coats of glue. Apply your first coat to the patch and another coat to the boat – separately. Wait 10 minutes, then apply a second coat to both again. Wait 5 minutes after your second coat, then apply your patch.
Humidity is Not Your Friend
6. Try to keep your humidity level under 70%. If you are in a very humid climate, try to transport your boat indoors before you begin your repair.
If you end up in a bind and have to repair your dinghy DIY-style, hopefully these tips will save you some trouble!
Thank you to the people at A Sailor’s Place in Stuart who were kind enough to share their knowledge with me! I hope these tips and tricks help you in your repair process.


Click here for the full article and free system access!
1 https://issuingmoney.page.link/KRPApPp2jBaBgpHv7